
Fun fact: stores selling paint and other décor throw away their wallpaper sample books at the end of each season – but if you ask nicely, they might give the sample book to you instead. Apparently teachers have been using them for years as free art supplies. Now that you’re in on the secret, you can too.
Like my previous post, 3 Crafts to Make with Vines, I’ve got some ideas for decorations made with repurposed materials, in this case types of paper. If anything paper is even more versatile than vines because of the variety of textures and colours available. Most of these projects are kid-friendly, and they can be adapted to any kind of holiday (or everyday) theme you like.
Tip: I recommend practising different shapes and decorating ideas with scrap paper first to get a feel for how the different materials behave.
The first tutorial shows you how to make simple traced shapes that can be used as ornaments, window decals, or to decorate cards and table settings. Second are instructions to make bunting, a type of banner that I often saw in cafés when I was in England. Finally, I’ve added a tutorial for the classic paper chain and some bonus how-to links from other creatives.

First, gather some supplies:
- The basics: pencil and eraser, ruler, scissors, craft glue, stapler.
- Scrap paper for practising on and making templates.
- Sticky tack (always test to make sure it doesn’t stain surfaces!), fine thread, or fine wire for displaying your ornaments.
- Card stock and construction paper might be lying around your house already, or you can re-purpose old folders, posters, and cards.
- Visit your local paint shop (or a friendly teacher) to ask if they have wallpaper sample books they aren’t using.
Stars, leaves, & more


- First, design your template. You can trace an existing object (such as a leaf or feather) for this, or draw freehand. Learn to draw different types of stars with a compass here, or freehand with this video.
- Trace the template onto your paper and cut out the shapes.
- Next, decide how you’ll display your shape. If you plan to stick it to a flat surface, all you need is an adhesive like glue or sticky tack. To hang it up as an ornament, use a thick needle (like an embroidery needle) to punch a hole near the top for a loop of thread to go through. Use fine wire instead of thread to attach paper shapes to heavier decorations like wreaths and garlands.
- Start decorating!
Note: if you’re using one-sided paper, such as wallpaper, you’ll need to trace twice as many shapes so you can glue them wrong sides together. Remember to flip the template over to ensure the two sides match. If the wrong side won’t be visible (because it’s stuck to a wall, for example), you can skip this step.
Bunting


- Using a ruler to ensure symmetry, make a template shaped like a diamond (I’ve gone with the traditional triangles here, but you could use other shapes if you want).
- Cut a piece of string or fishing line about 10 cm/5 in longer then you want your finished bunting to be. Use your template to determine how many shapes you will need to fill the length, leaving about 1 cm of space in between.
- Trace and cut out the necessary number of diamonds and fold them in half horizontally. Arrange them in the order you want with the string lying inside the folded crease.
- Glue the folded halves of each diamond together to secure them in place. Allow to dry.
- Tie loops in each end of the string and hang your bunting in the desired place.
Paper chain
- Make a rectangular template about 20 cm/8 in long and at least 5 cm/2 in wide. Start with around 15 rectangles, then cut more as needed.
- Bring the ends of one rectangle together and staple or glue them in place to make your first link.
- Loop the next rectangle through the first link and secure to make a another link. Repeat this step until your chain is as long as you want it to be.
- Hang your paper chain in a tree, on a mantelpiece, or over a window or door. Secure in place with pushpins or thread if necessary.
Bonus Paper Craft Tutorials
Snowflakes were my favourite paper craft as a kid. This video by Fantasvale Art Lab shows you how to make them look like the real thing.
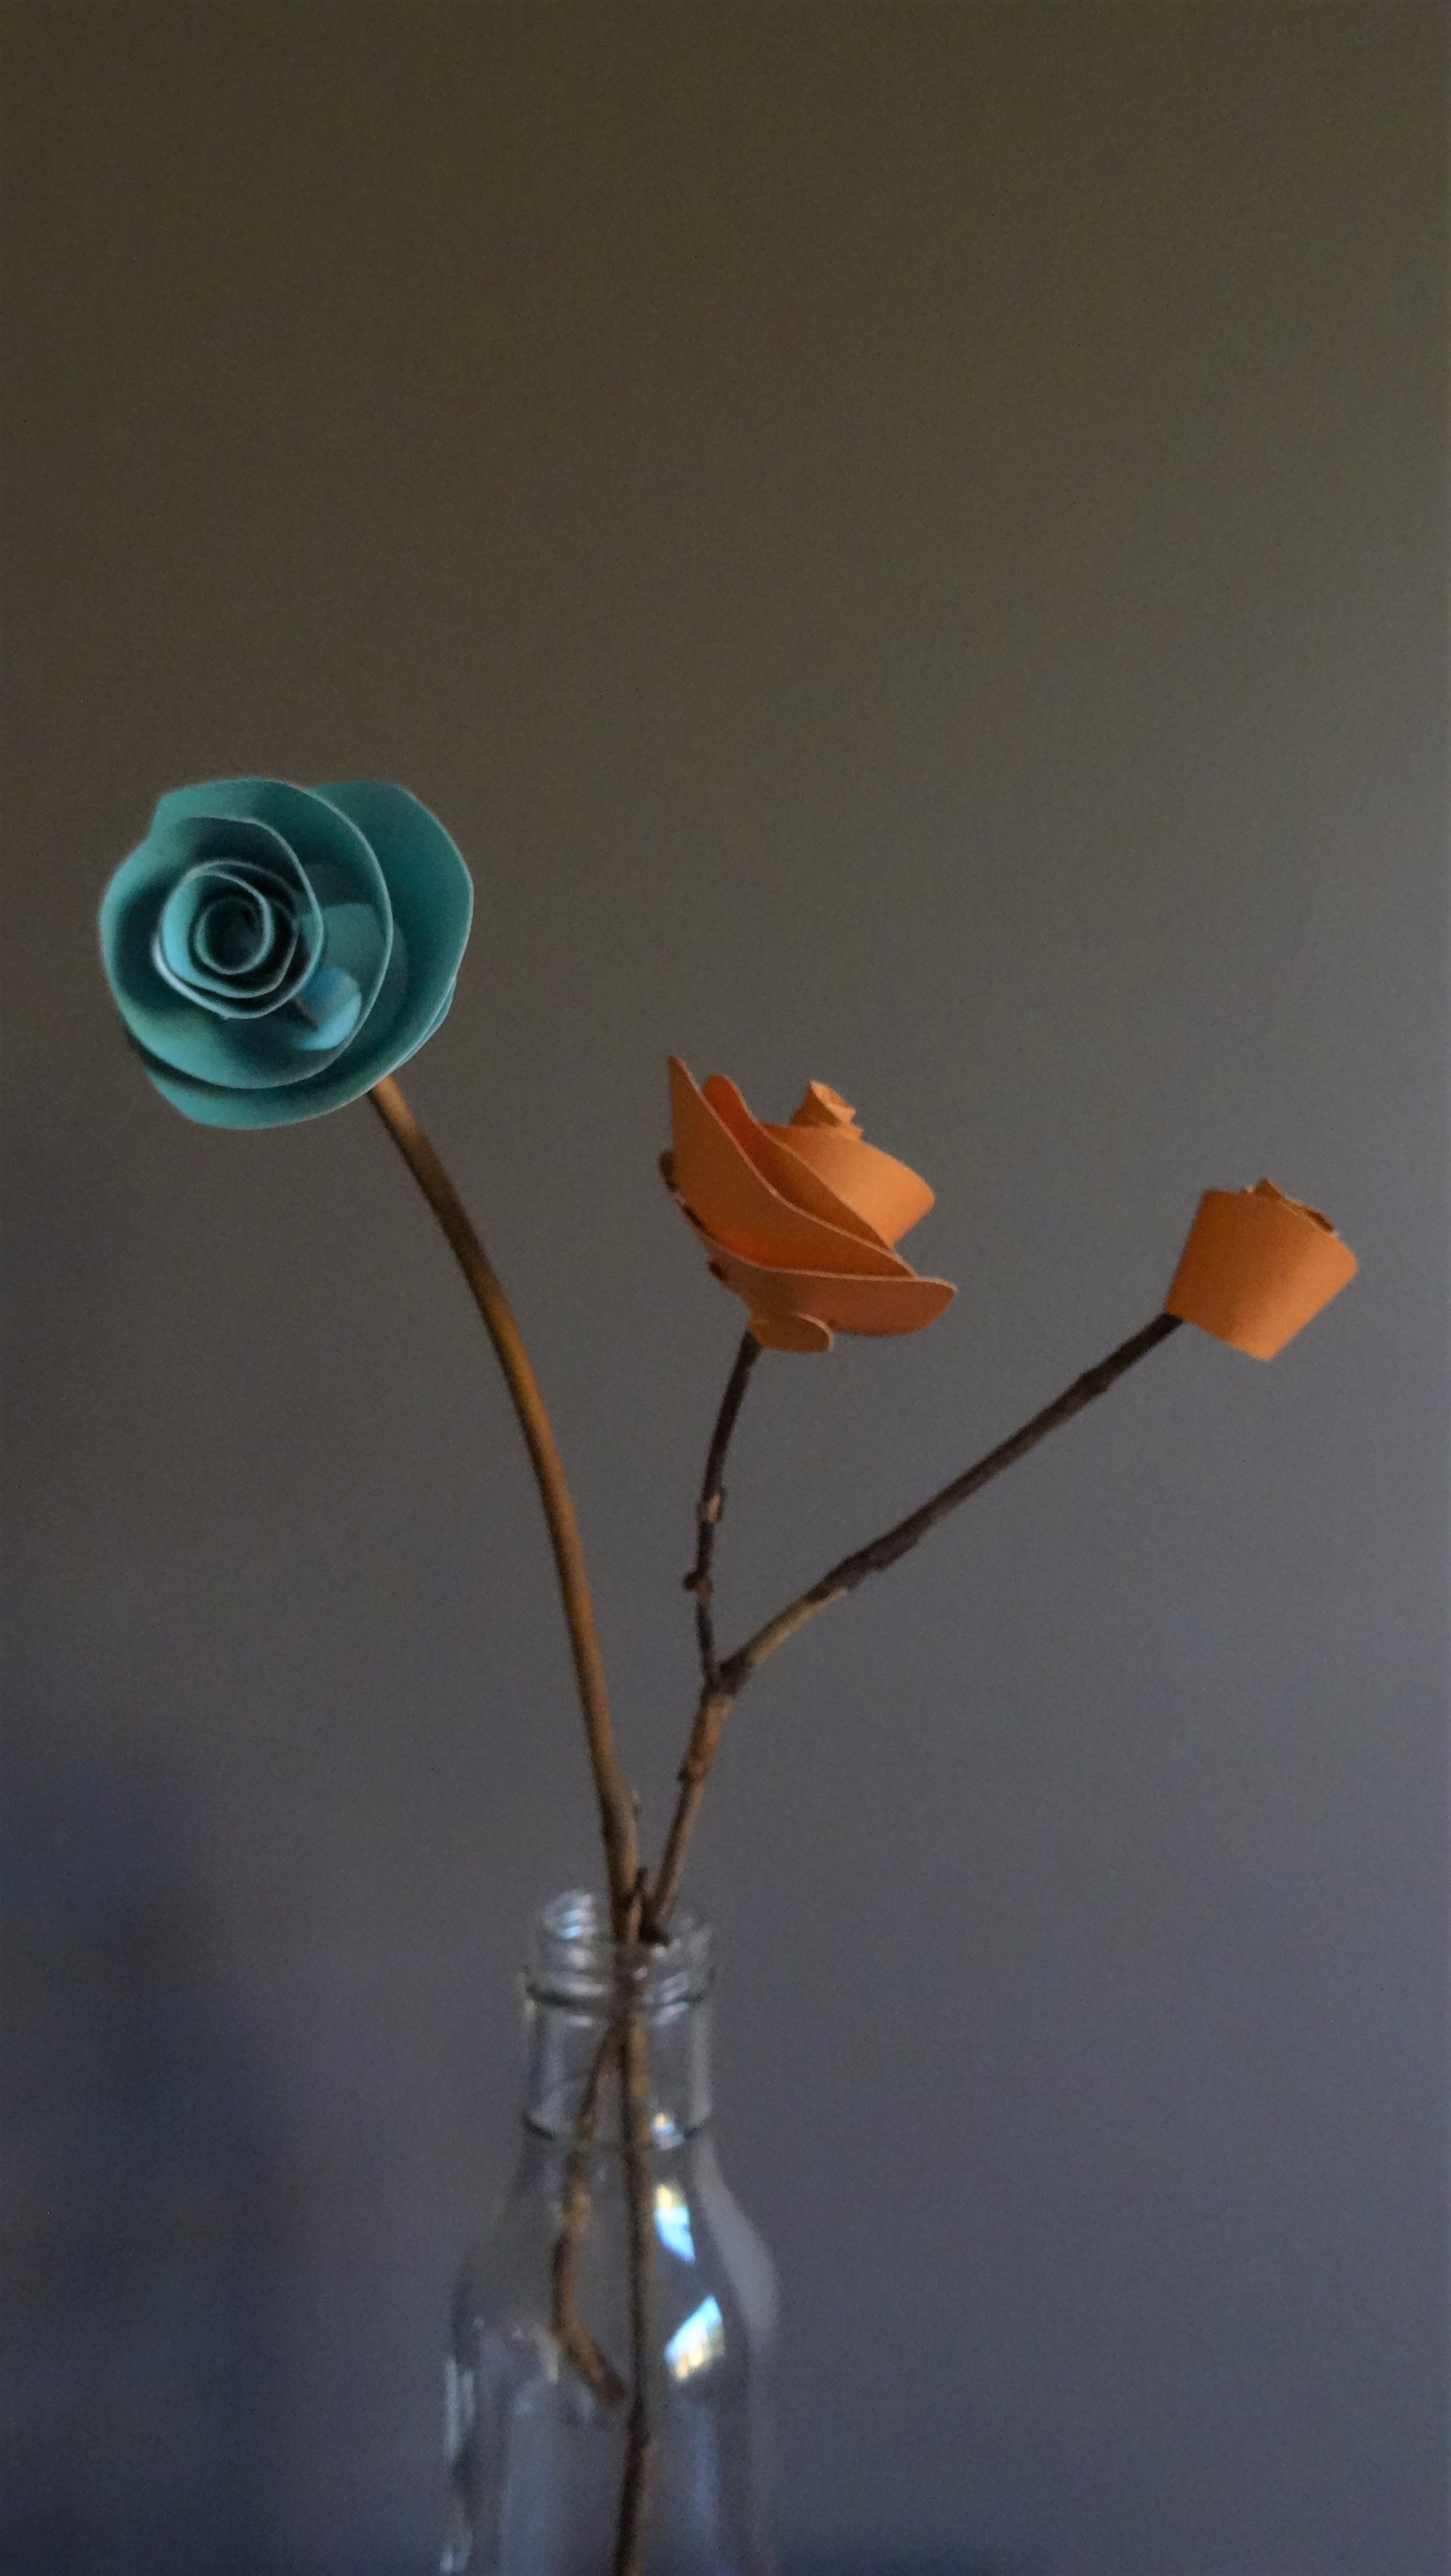
Purely Katie’s spiral roses are fun and simple to make.
A more complex – but gorgeous – paper rose tutorial from It’s Always Autumn.
Attach a ribbon to the top of these paper cones to turn them into hanging ornaments (with or without candy inside), or flip them upside down so they stand like little evergreen trees.
Homemade Gifts Made Easy‘s YouTube channel is loaded with beautiful paper projects. I’ve got their origami star on my to-do list.
Making Your Paper Crafts Last
With a little care, paper ornaments can be reused year after year. Keep them indoors, and keep them away from sources of steam in the bathroom or kitchen. Also avoid open flame and any surface that gets hot. Store your ornaments in sturdy containers, making sure that there is nothing heavy inside that could crush them.
Happy crafting!

One thought on “3 Crafts to Make with Paper: Stars, Bunting, and More”